Thursday, May 14, 2020

Chin Theater

This project will give you so great belly laughs. My kids and I had some fun being silly. My 3 year old tried to tell a joke.

Materials-
a way to record a video
markers or google eyes
a person's chin
a 2nd person to record

Step 1-
draw or stick 2 eyes on your chin


Step 2-
Think of silly things to say


Step 3-
Lay upside down on a couch or bed with head hanging over the edge


Step 4-
Begin recording video very close to the upside down chin


Wednesday, May 6, 2020

Mother's Day Crafts with things you have at home

I have collected a few ideas you can make for special people in your life during this time of Social Distancing with things most people have around their homes.


Paper towel/toilet paper roll crafts
paper towel roll crafts


Using a photograph
Your Picture in a craft


Using your Handprint
Handprint
Art

Friday, May 1, 2020

Edible Art

Art lesson #13- Make a colorful cake

Materials-
2 boxes of white cake mix along with required ingredients according to the box
Food coloring
2-3 containers of icing
cake pan(s)
bowls and measuring spoons
small candies, sprinkles, or other edible decorations

Step 1-
Make cake batter according to the back of the box 


Step 2- 
Split the batter up into 6 different bowls. Add 2-3 drops of food coloring to make each bowl a different color


Step 3- 
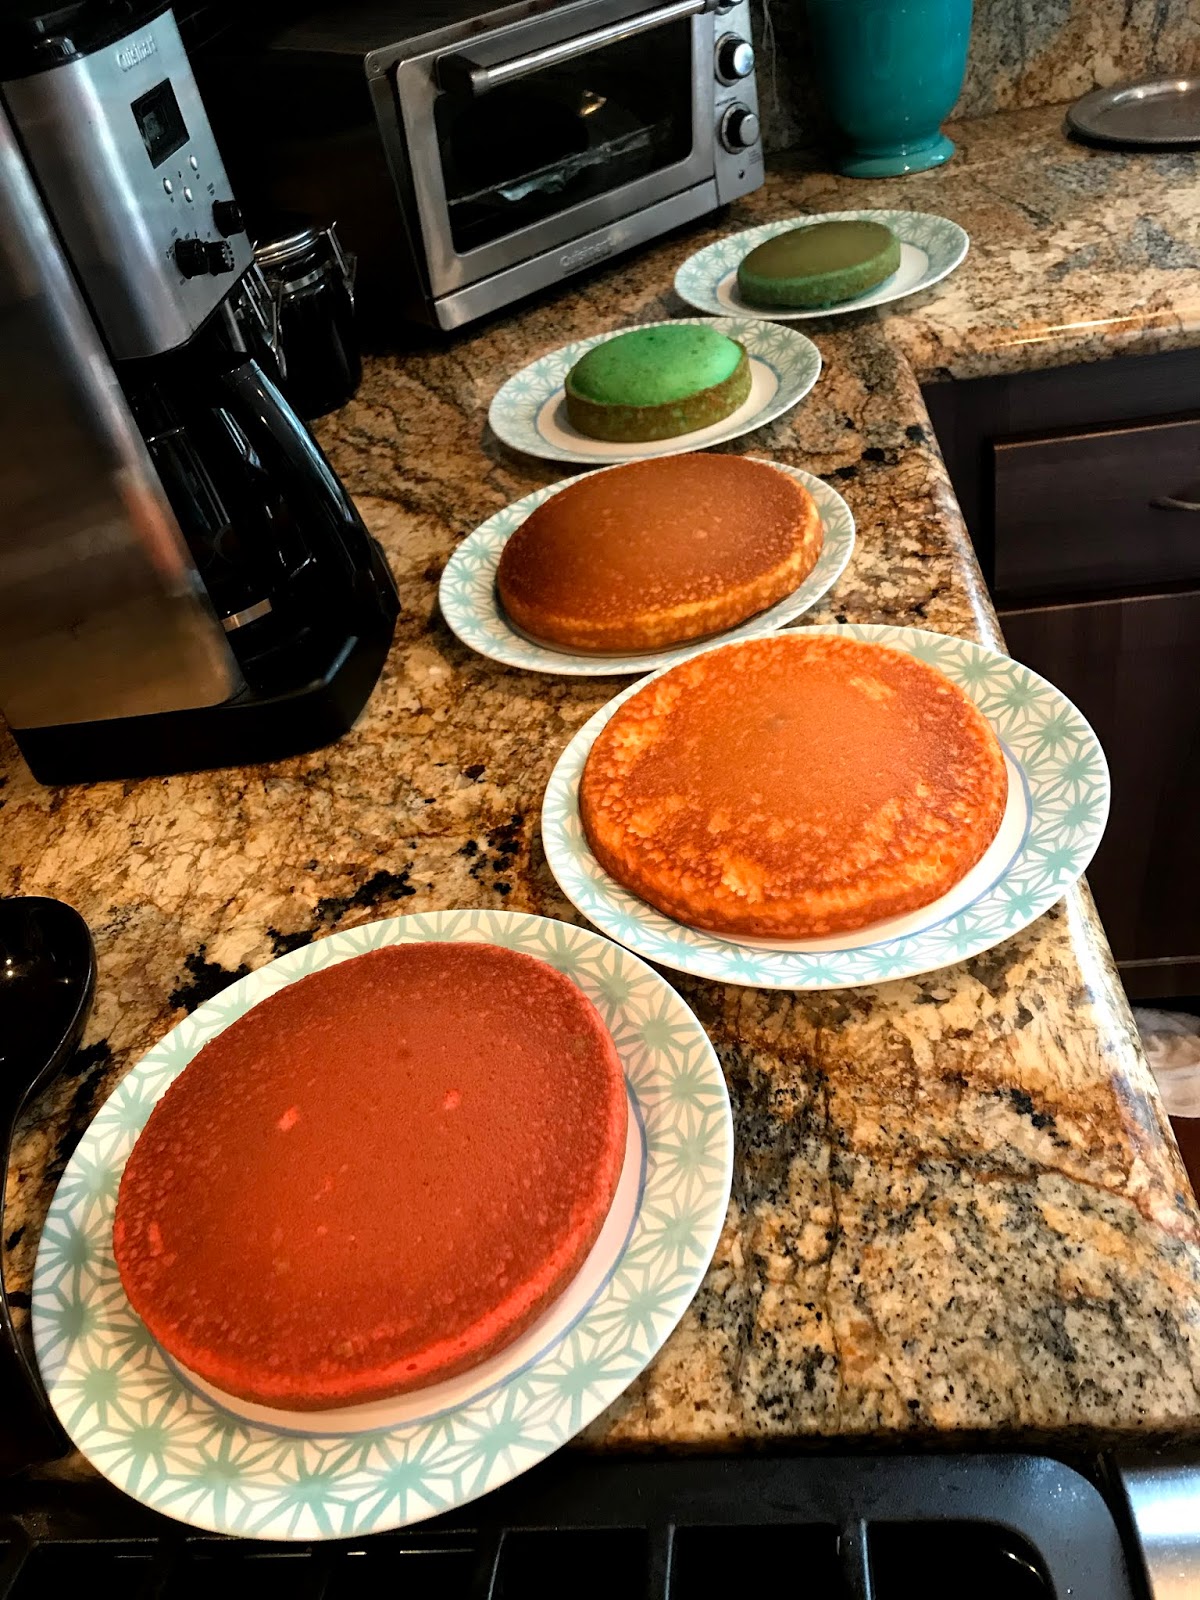
Bake according to box instructions each color in a different pan. We had to wait for our pan to cool before using it again for another color.
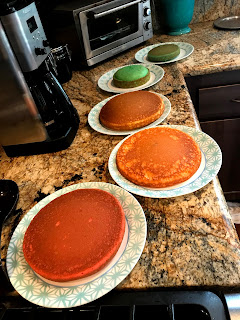
These are cooling while we re-use the pan each time


Step 4-
Cut the tops off so they are nice and flat for stacking


Step 5-
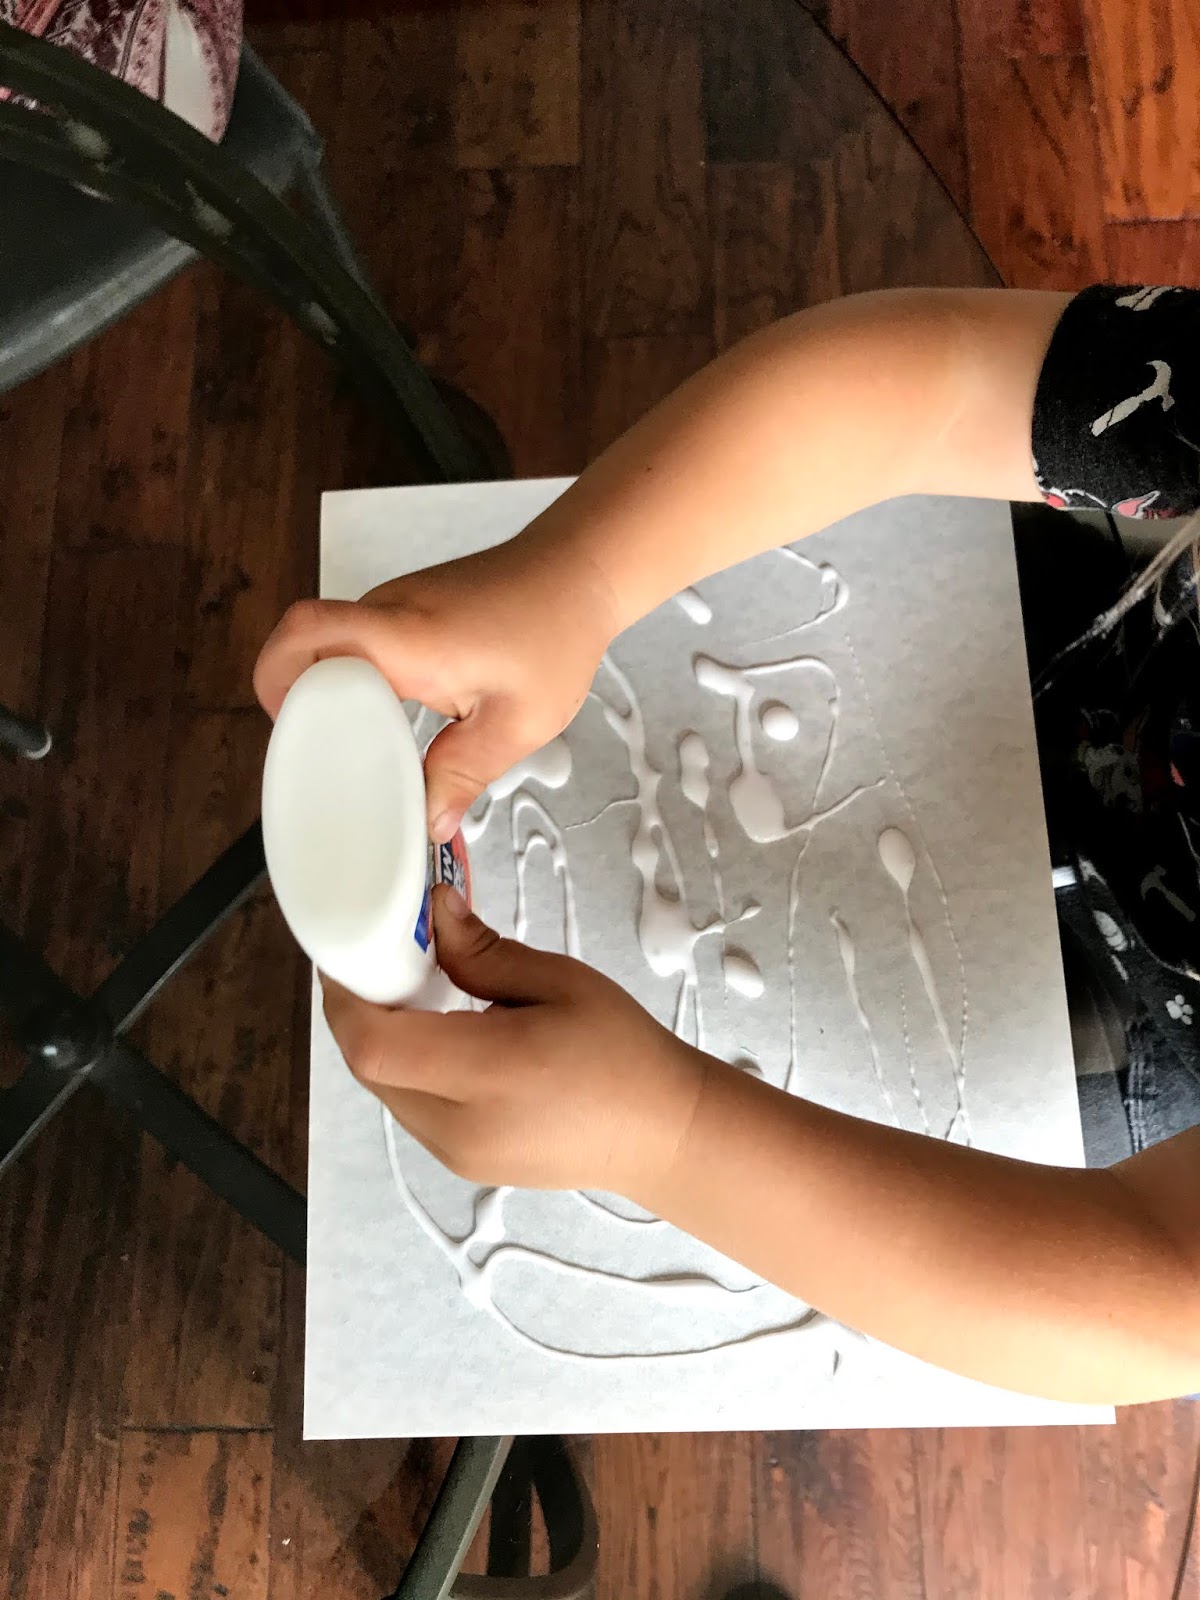
Ice the top of each cake before stacking on top of the next

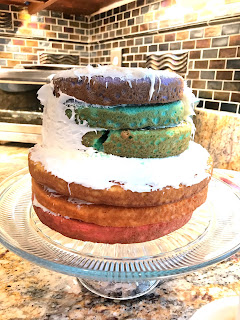
Add secret ingredients to the inside by making a hole in the 2nd through next to last layer (not the top) and drop in, then place the top layer on.

Step 6-
Ice the outside of the cake being careful not to push too hard on the cake
Step 7-
Decorate the cake anyway you like.


Step 8-
Eat and enjoy with those that you love.

Symmetrical Art


Art Lesson #12- Symmetrical Art

Materials-
-2 different colors of construction paper

-tape
-glue
-Scissors


Step 1-
Cut both pieces of construction paper in 1/2 (vertically is easiest, but not required)


Step 2- 
gather 1 piece of each color and tape them together and then turn it over so the tape is not showing.


Step 3- 
With the other 2 pieces draw half of a head and cut the half head hold both at the same time.


Step 4- 
Use the scraps to create eyes and other features using the same technique of holding both colors at the same time.

Step 5-
Glue the pieces to the paper. Be sure to always alternate the colors.


Monday, April 27, 2020

Getty Museum Challenge


Recreating Famous Art Using Things Around the House

Click the link below and get inspired by what people around the world have done to stay busy and recreate art. #Gettymuseumchallenge

Covid-19 Art Challenge

Here is what my family came up with-
Nepolean Crossing the Alps
Girl in the Mirror

Monday, April 20, 2020

Lesson #11- Foil Fun

Foil Fun

Materials-
Paper
Works best with hot glue and gun, but white glue will work as well
Aluminium foil
 1 Q-tip
sharpies

Step 1
With a hot glue gun create fun shapes or a scene on the paper

The hot glue gun is hot, be sure to use caution

I used scratch paper


Step 2
Place a sheet of foil over the top after it is dried and cooled. Gently use a Q-tip to push the foil down around the bumps.


Step 3-
Use Sharpie to color your scene anyway you would like


Step 4-
 Take a picture and share


Lesson #10- Salt Art


Salt Art
This is a messy project and is best done outside. This project requires a bit more time because you have to wait for the project to dry.


 Materials-
Paper (the thicker the better)
Glue in a bottle
Salt
Water color paints


Step 1-
Use glue to make fun designs on the paper


Step 2-
Add salt to the wet glue. We placed our art on a serving tray to conserve the mess and be able to collect and reuse the excess salt

Step 3-
Let dry! This is a very important step. We let our art a full 24 hours

Step 4-
Use water colors and gently touch the salt with the color on your brush
It's very cool how the paint spreads as it gets absorbed by the salt.

Step 5-
Take a picture and share